How to Get Your First OnlyFans Subscribers Without an Existing Audience
Set up your OnlyFans page, choose content and prices, batch your first posts, and build a practical promotion routine—even without an existing audience.
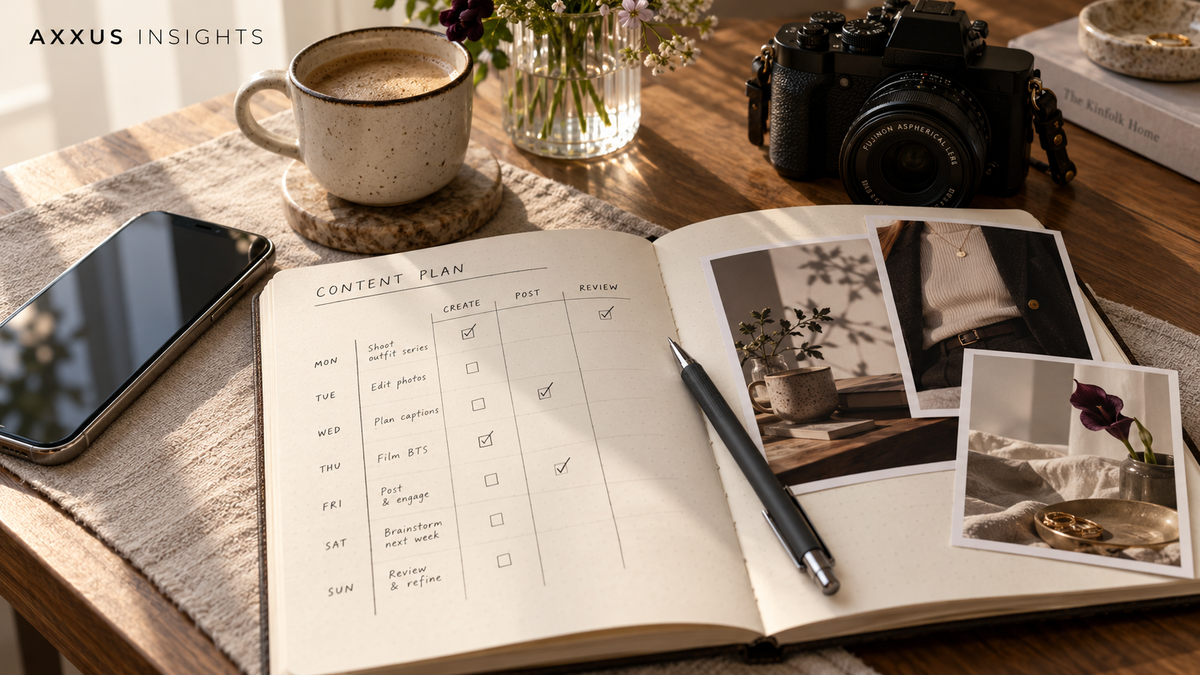
Before promoting your OnlyFans, build a page someone can confidently subscribe to. That means completing your account and payout setup, choosing your content and prices, preparing your first posts, and explaining what subscribers receive.
Then create a repeatable promotion routine. You do not need to spend every day filming or join every social platform at once. You need enough prepared content to stay consistent while learning what interests potential subscribers.
Here is a practical starting plan.
1. Create your accounts and finish the business setup
Choose a creator name you can use consistently. Create a dedicated email address, use unique passwords, and enable two-factor authentication wherever available.
Start your OnlyFans creator registration through the official website. Complete the identity, payout, and tax-information steps presented in your account before planning a paid launch.
Your setup checklist:
- Complete the required creator verification.
- Add a supported payout method and check the account details carefully.
- Complete the tax documentation requested for your country and business structure.
- Save your account-recovery information securely.
- Create a folder for statements, receipts, and business records.
- Start a spreadsheet for revenue, platform fees, expenses, and payouts.
For U.S. creators: a W-9 supplies your taxpayer identification information to a payer. A W-4 concerns employee payroll withholding. A 1099 reports certain payments and is generally issued by the payer when applicable—you do not create one to activate your creator account. Follow the platform’s actual tax prompts and ask a tax professional if you are unsure which name, tax classification, or identification number to use.
Sources: IRS guidance on Form W-9, employee withholding, and Form 1099-NEC.
2. Decide what you will sell
Write your content list before choosing a subscription price. This keeps you from promising more than you can produce.
Use this planning checklist:
- Main content: What themes, formats, or creative interests will your page focus on?
- Subscription content: What will every paying subscriber receive?
- Separately priced content: What, if anything, will cost extra?
- Custom requests: Will you accept them? Which requests are outside your boundaries?
- Messaging: What interaction is included, and when will you respond?
- Publishing schedule: How many updates can you maintain each week?
For example, a page might offer themed photo sets, short videos, and behind-the-scenes updates, with selected longer releases priced separately.
That is an example of packaging—not a required content mix. Your list should reflect what you want to create and can consistently deliver. Check platform rules before adding any offering.
3. Set your prices and availability
Choose whether the page will require a paid subscription or allow free entry with separately priced purchases. A free follower and a paying subscriber are different outcomes, so decide which business model you are building.
For each paid offering, record:
- The price the customer pays.
- Exactly what is included.
- Any separately priced extras.
- Your production and communication time.
- Applicable platform fees.
- The delivery window.
You can use $10 per month as a planning example, then test whether the workload and included content make sense at that price. It is not an industry benchmark or a recommendation for every creator.
Avoid opening with unlimited messaging or unlimited custom requests unless you have deliberately planned for that workload.
Write down your availability too. For example:
Messages are checked Monday–Friday in the afternoon. Custom requests are reviewed before acceptance, with timing confirmed individually.
Use hours and response expectations you can actually maintain.
4. Choose your profile picture and write your bio
Your profile should help someone recognize you and understand the offer quickly.
Choose:
- A clear profile image that works at thumbnail size.
- A matching header or cover image.
- A consistent display name and handle.
- A short bio explaining the content, schedule, and extras.
If you prefer not to show your face, use a recognizable image that fits your privacy boundaries. Review backgrounds for identifying details before posting.
Build your bio with this structure:
What I create + what membership includes + posting rhythm + what costs extra.
For example, if accurate for your page:
Themed photo sets, short videos, and behind-the-scenes updates from my shoots. New posts three times a week. Your subscription includes feed content; selected releases and approved custom requests are priced separately.
Replace every element with your actual offer. Avoid claims such as “daily content” or “always available” unless you intend to deliver them.
5. Batch your first two weeks of content
Set aside one production session to create several pieces at once. Change outfits, settings, or themes within that session so you have variety without arranging a separate shoot for every post.
Axxus planning example:
- One profile image and one header: finish your account presentation.
- Six subscriber posts: support a three-post-per-week schedule for two weeks.
- Six public-safe promotional assets: introduce your personality and work on suitable channels.
- One welcome post: explain where new subscribers should start.
- Captions for each asset: reduce last-minute writing.
- One spare post: cover a busy day or production delay.
These quantities are a manageable example, not a minimum required for success.
Organize files into folders such as Ready to publish, Needs editing, Published, and Public promotion. Label them by date or theme so you can find the right version quickly.
Before launch, publish a starter selection that represents the paid experience. Keep the remaining posts ready for your schedule. Someone joining today should have something to explore today.
6. Prepare your welcome message
Write the first message a new subscriber should receive. If your account supports automated welcome messages, review those settings; otherwise, keep a saved draft for personal use.
A useful message:
- Thanks them for joining.
- Points them to a starting post or collection.
- Explains the posting schedule.
- States your messaging availability.
- Distinguishes included content from extras.
For example:
Thanks for joining! Start with my welcome post for a guide to the page. I share new content Monday, Wednesday, and Friday, and check messages on weekday afternoons. Your subscription includes my feed posts; any separately priced releases will be clearly marked. What themes do you enjoy most?
Adjust the wording to your personality and actual schedule. Do not imply that an automated message was personally written in response to that subscriber.
7. Set up X and Clapper, and find useful Facebook groups
Reserve consistent handles on X and Clapper if you plan to use them. Complete your profiles before posting: image, bio, and any permitted destination link.
Give each channel a clear purpose:
- X: introduce your creator identity, publish relevant posts, and join genuine conversations.
- Clapper: create public-safe videos about your personality, interests, creative process, or everyday routines, grwm's.
- Facebook groups: find hobby groups, fishing, fitness, hiking, coffee enthusiasts, dating groups, etc, photography, or relevant interest groups for learning, relationships, and permitted collaboration and expand your reach through targeted content batching and scheduling across a variety of mediums.
The same material is not suitable everywhere. X’s adult-content policy permits certain consensually produced adult content with appropriate labeling, but prohibits adult content in prominent areas such as profile pictures and headers. Clapper’s Community Guidelines prohibit explicit material, including sexual acts and genital imagery.
Read each Facebook group’s rules before joining or posting. Use groups for relevant participation; do not treat them as places to drop subscription links. Group permission does not replace platform rules.
Start by actively maintaining one channel. Add the second once you can keep up without neglecting paying subscribers.
8. Post regularly using a schedule you can repeat
Consistency is easier when you decide the work in advance.
Axxus starter schedule—not a platform requirement:
- Once a week: batch content, edit, write captions, and prepare the coming week’s posts.
- Monday, Wednesday, Friday: publish the subscriber updates you promised.
- Four days a week: publish one suitable promotional post on your primary channel.
- On those posting days: spend a short, defined period responding and participating in relevant conversations.
- During your stated availability: review subscriber messages and accepted requests.
- Once a week: review results and prepare the next batch.
Vary the purpose of promotional posts. Share an introduction, a creative detail, a relevant question, or an update on a project. Include a clear next step only where permitted.
Avoid copying the same sales message into unrelated conversations or sending unsolicited promotional DMs.
9. Track the path to a paying subscriber
Create a weekly tracking sheet with:
- Posts published.
- Profile visits and link clicks, where available.
- New paying subscribers.
- Subscription revenue and separately priced sales.
- Time spent producing content and responding.
- Questions people asked before subscribing.
Use separate tracking links where supported, but do not assume every subscription can be attributed to a particular post.
Then make one change at a time:
- Few people see your posts: review topic, format, participation, and account eligibility.
- People see posts but do not visit your profile: review whether the content gives them a reason to learn more about you.
- Profile visits but few clicks: review bio clarity and whether the permitted next step is easy to find.
- Visits to your paid page but few subscriptions: review offer, starter content, pricing clarity, and audience fit.
- People subscribe but do not stay: review whether the delivered experience matches the promise.
Do not rebuild the entire page after a handful of visits. Collect enough observations to identify a useful next test.
Your first-week checklist
Before spending money on promotion, finish these tasks:
- Complete creator verification, payout setup, and requested tax information.
- Write your content list, prices, boundaries, and availability.
- Upload your profile image and write a specific bio.
- Prepare two weeks of content and publish a starter selection.
- Draft your welcome post and introductory message.
- Set up your chosen discovery accounts.
- Read community rules before participating.
- Put your posting and response times on your calendar.
- Start a simple results tracker.
Your first goal is a working creator business routine: a page ready to purchase, content ready to deliver, and a realistic way for new people to discover you.
If you need help turning those pieces into a manageable plan, explore Axxus.